My Cart
Your Shopping Cart is Empty
This article is a guide to build your own simple high quality RCA interconnect cables for your Hi-Fi audio system. These "better DIY RCA interconnects" are unbalanced and made using shielded instrument cable and high quality RCA plugs. This is a fairly easy DIY cable and one stereo pair of DIY interconnects can be put together in about one hour. You will not need any fancy materials or special tools to build this cable. Just some meters of good shielded instrument cable and high quality RCA connectors, a soldering iron and some good solder with flux, a handy knife and a good side-cutter to prepare the wires for the soldering process. The photos only is as an example to demo how to DIY shielded RCA Interconnect Cables.
1. High quality cable according to your requirements, and define its length, like as Canare Professional Broadcast Audio-cable.

Example of HIFI Cable
|
|
|
Constructions of Cable |
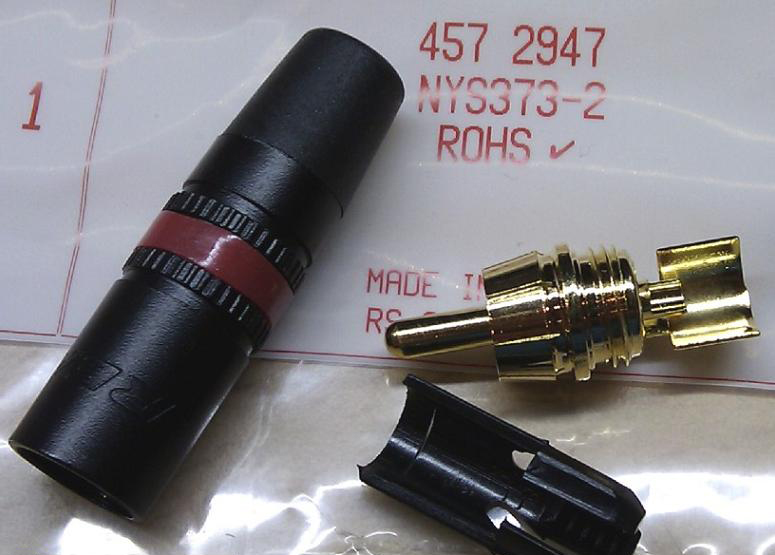
2. High quality RCA connectors which are black in color and with red and white indicator rings, and with gold-plated contacts and rubber end-boots to firmly hold the wire in place, like as Budweiser RCA connectors by U.S.
|
|
|
Example of HIFI RCA Connetor |
Constructions of HIFI RCA Connector
1. Strip outer of cable Insulator
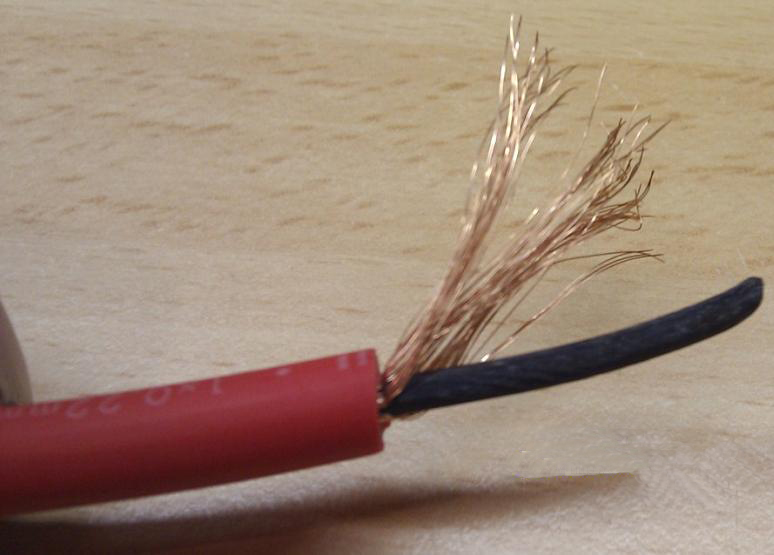

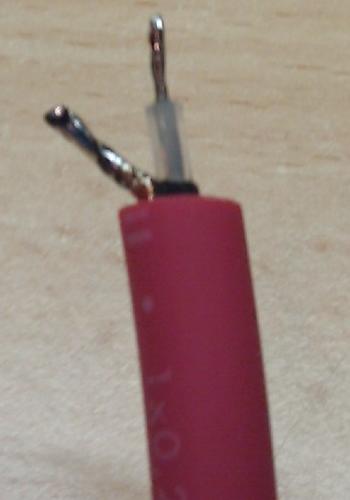
2. Strip wires of cable inside

3. RCA Connector Plug Assembly Instructions
It is very important to slide the plug housing over the cable before you start to solder the wire to the connectors !!
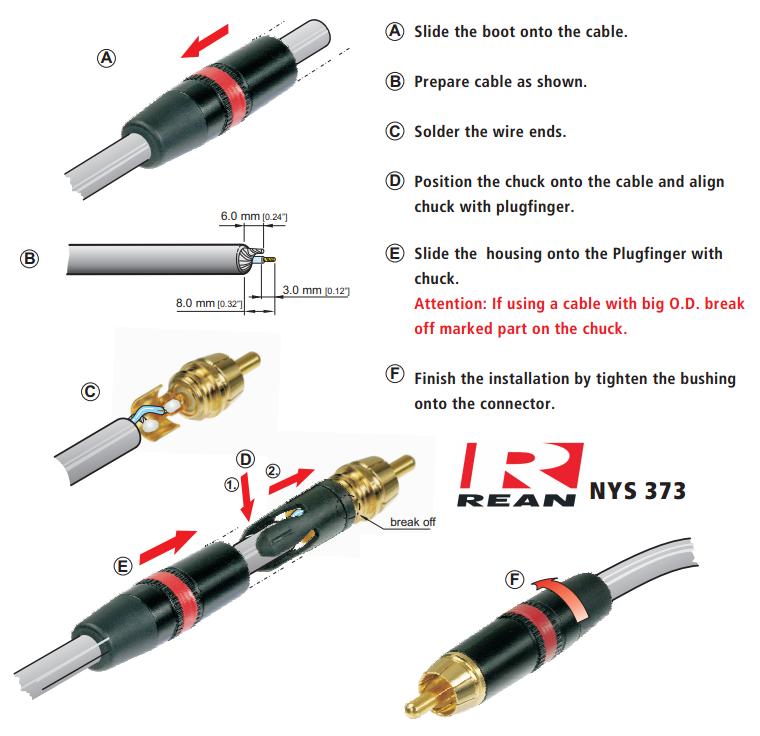
4. Prepared Shielded Wire
5. Soldering the wire to the RCA connectors with the fixture if need


6.Assembled RCA Interconnect Cable

Enjoy your cable! You will get more improvents of your HIFI system after to use this HIFI RCA cable.

History of Tube Amplifier
Previous postVideo Demo: IWISTAO Tube Preamplifier Matisse Circuit 2x6N3 PMMA Casing Black Piano Paint Musical Flavor HIFI
Next post


0 comments